Setup Guide
 VPN Use Cases
 Account & Billings
 Video Tutorials
 Faq's
Faq's
How to setup OpenVPN for Linux Lite 4.3
 4817 Views
 September 20, 2020
 Andrew
 No Comments
 3
3The following instructions outline the setup process for OpenVPN connection on Linux Lite. Before you begin, please make sure that:
- You must have an active internet connection
- A Premium Ivacy VPN account. If you haven’t subscribed yet, click here to subscribe to Ivacy VPN
- First, open the web browser (Firefox) and download the IvacyVPN OpenVPN configuration files by Clicking here and extracting them.
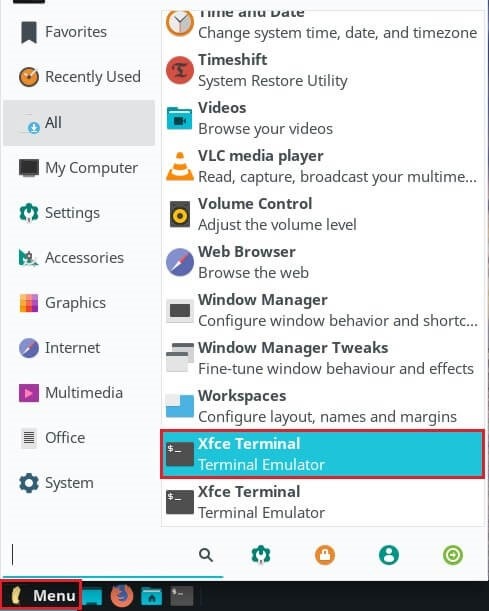
- Then Go to the ‘Menu’ option and search and open the ‘Terminal Emulator’.
- Now you need to install the necessary OpenVPN packages. Type the following commands one by one:
• sudo apt-get update
• sudo apt-get install network-manager-openvpn
• sudo apt-get install network-manager-openvpn-gnome
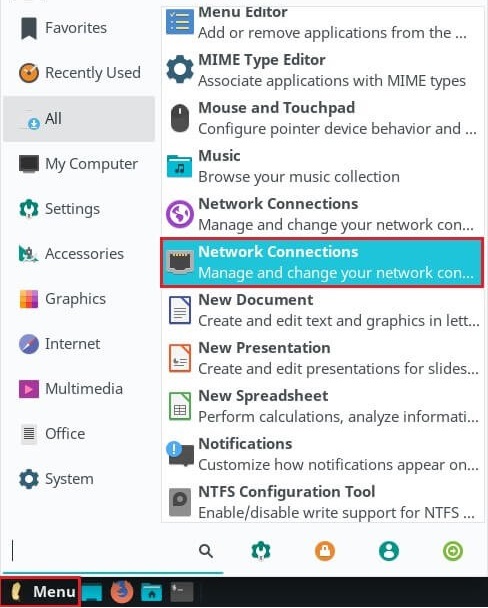
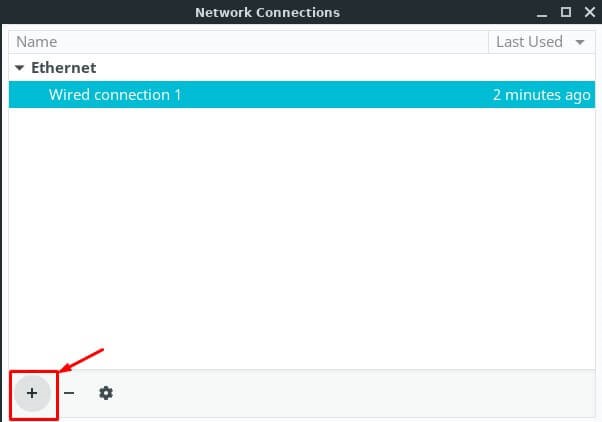
• sudo apt-get install openvpn - Now Go to the ‘Menu’ and search and open the ‘Network Connections’ option and then click on the ‘+’ icon to create a new VPN connection.
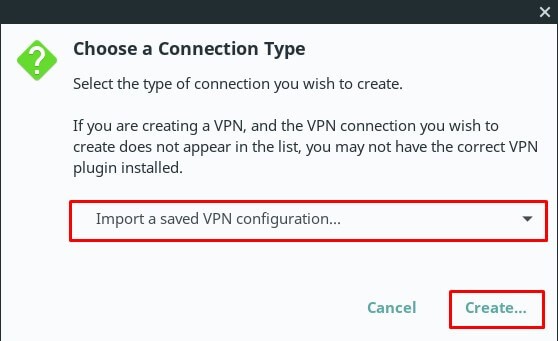
- Select ‘Import a saved VPN configuration…’ option. Click the “Create” button.
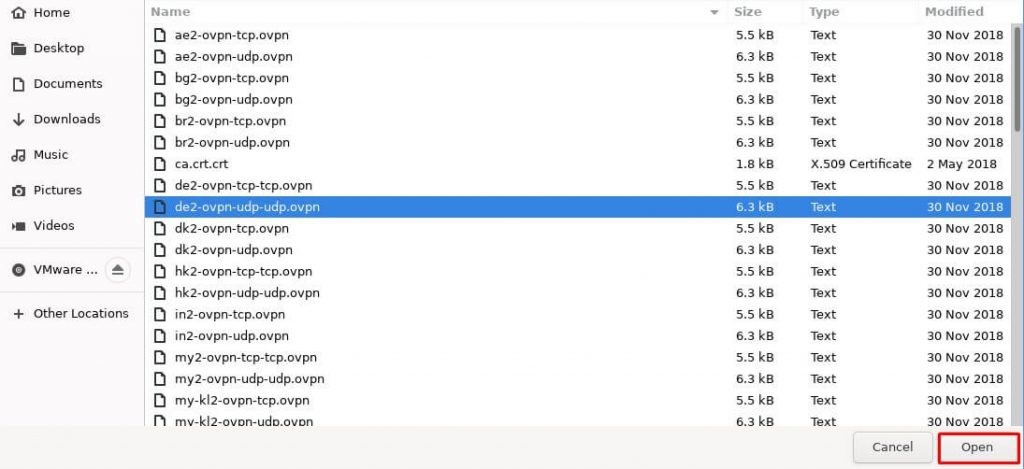
- Go to the folder where you have downloaded the OpenVPN files and select your desired .ovpn file to connect.
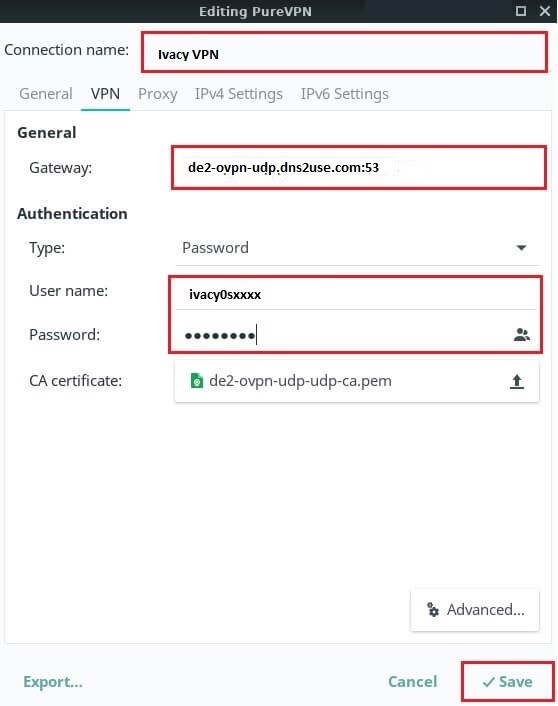
- When a new window appears, enter the following information:
• Insert Connection name: IvacyVPN
• Insert Gateway: (already selected/entered)
• Connection Type: Password from drop down menu
• Insert Username provided by IvacyVPN
• Insert Password provided by IvacyVPN
• CA Certificate: Already uploaded.
• Сlick “Save” button.
- Now go to the “Ethernet Network” option and under “VPN Connections” click/check on the newly created “IvacyVPN” connection to activate VPN.
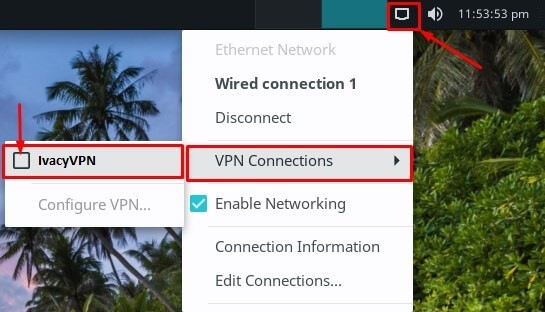
- You are connected to Ivacy VPN now!