
 Setup Guide
 VPN Use Cases
 Account & Billings
 Video Tutorials
 Faq's
Faq's
How to Configure OpenVPN for Ubuntu 22.04 with Ivacy VPN
 15722 Views
 April 5, 2022
 Andrew
 No Comments
 12
12In this tutorial, you will learn about the configuration of OpenVPN on Ubuntu with Ivacy VPN.
Before you begin, please make sure that:
- You must have an active internet connection
- A Premium Ivacy VPN account. If you haven’t subscribed yet, click here to subscribe for Ivacy VPN
- Enter your ‘username and password’ to access ubuntu interface. Click on ‘Dash’. Search for ‘Terminal’. Open it.
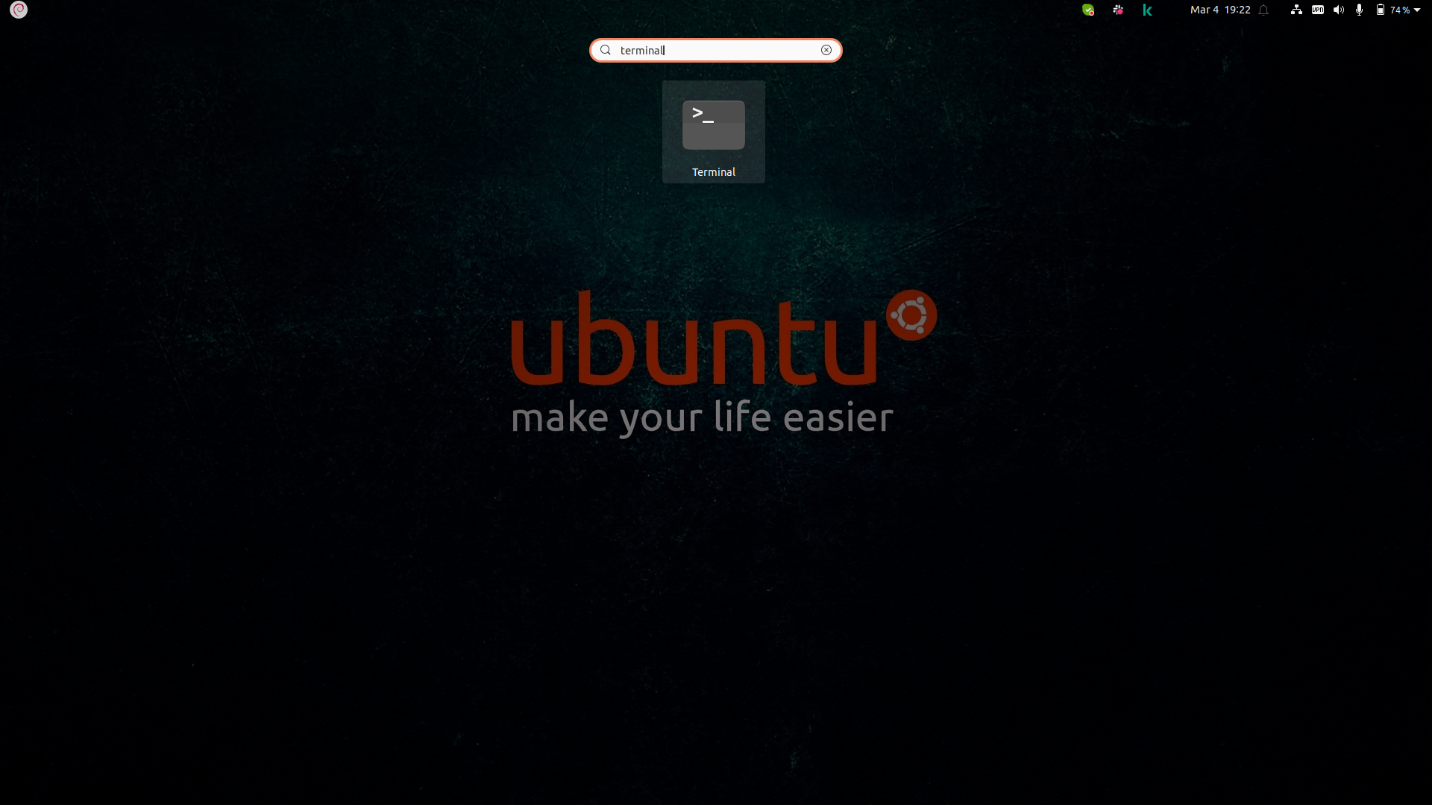
- The command line interface will open up. Enter the following command:
‘sudo apt-get install network-manager-openvpn’. Press ‘Enter’key. Type your password.
- Type the letter ‘Y’. Hit ‘Enter’ key to continue

- Once the installation is completed, close down the ‘Terminal’ and download the required ‘OpenVPN file’. (Click here to Download File). Go to the downloaded location.

- Right click the file in the downloaded folder. Extract the files within that folder.

- In the top-right corner of your screen, you will see ‘Network Connection’ icon. Click on it. Navigate to ‘Settings’

- You will see ‘Network’ option. Click on it.

- The ‘Network’ window will open up. Click on ‘Add’ button.

- A dialog box will open up. From the dropdown menu, select ‘Import from file’.

- Import the file from the folder where you have save it. Navigate on your desired location and click on it.

- A new window with multiple options will open up. In the ‘Connection name’ field, write ‘IvacyVPN OpenVPN’.
From the ‘Authentication’dropdown menu, select ‘Type’as ‘Password’.
• Enter your ‘username’and ‘password’in the respective fields.
- Scroll the button in order to connect to VPN.

- It is now connected.

- In the top right corner of your screen, you can see the VPN connection detail. Click on it

Note:
Ubuntu Users should switch to 22.04 when it releases in April of at least 20.04 because the support for 18.04 will end the next year in April 2023.